


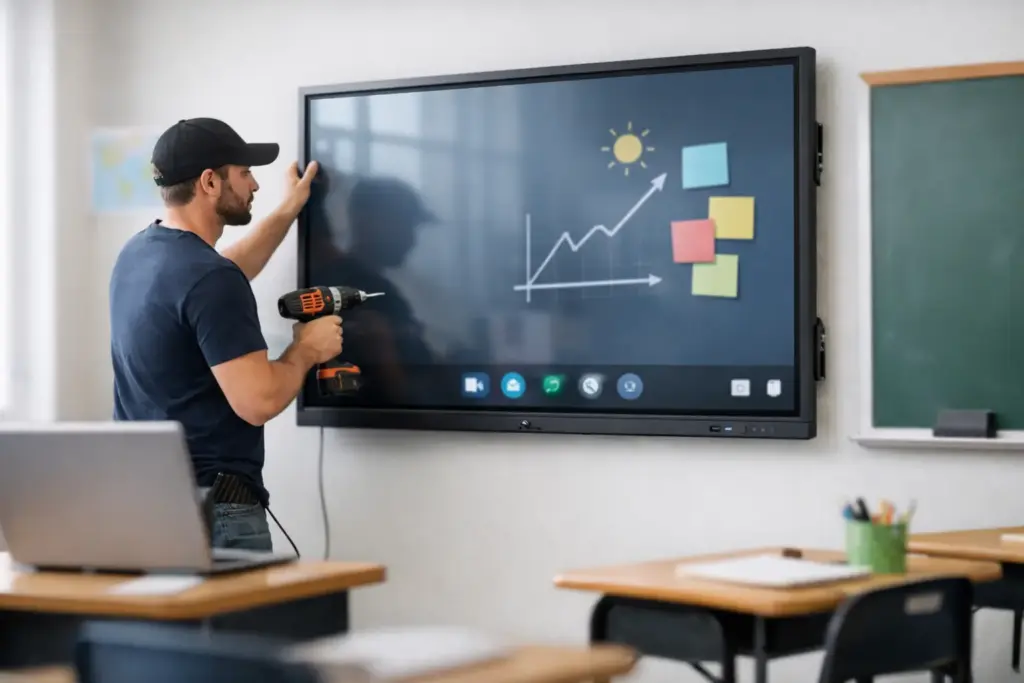
A classroom touchscreen can transform instruction, but only when it is installed at the right height, connected reliably, and secured for daily use. Knowing how to install classroom touchscreen displays properly means planning beyond the bracket: the wall structure, viewing angles, power location, network access, cables, and teacher workflow all affect the final result.
For schools and districts, this is not simply a display installation. It is a long-term classroom technology deployment. A screen that is too high will be difficult for younger students to use. A screen with exposed cabling becomes a maintenance issue. A display mounted without confirming wall strength is a safety risk. The best installations are planned as a complete teaching environment, not as a single piece of hardware fixed to a wall.
Start With a Classroom Site Survey
Before selecting a mount or opening a wall, inspect the room. Measure the usable teaching wall, identify the instructor’s typical position, and check where students sit. The touchscreen should be visible from the back corners of the room without forcing students to look sharply upward or around obstructions.
Screen size matters, but it is only one part of the decision. A 65-inch display may suit a smaller elementary classroom, while a 75-inch or 86-inch touchscreen is often a better fit for larger rooms. Resolution, brightness, anti-glare treatment, built-in audio, and device connectivity should match the room’s lighting conditions and teaching requirements.
Confirm these site conditions before installation:
- Wall construction and the location of studs, masonry, or structural backing
- Available dedicated power and the distance to the nearest electrical outlet
- Wired network availability, Wi-Fi performance, and network access requirements
- Cable pathways for teacher laptops, document cameras, room PCs, and audio equipment
- Ceiling lights, windows, whiteboards, HVAC vents, and doors that may affect use or viewing
Do not assume a standard drywall wall can carry a commercial touchscreen. Large interactive displays are heavy, and the mount must be fixed into appropriate structural support. If the wall is unsuitable, install backing, use a purpose-built mobile trolley, or select a floor-supported wall mount designed for the display’s weight and VESA pattern.
Choose the Right Mounting Method
The most common choice is a fixed wall mount. It keeps the screen stable, saves floor space, and creates a clean front-of-room presentation area. Fixed mounts work well when the screen height has been carefully planned and the display will be used primarily by standing teachers.
Height-adjustable wall mounts are more flexible. They are particularly valuable in elementary schools, special education settings, and shared teaching spaces where users need to bring the touchscreen within reach. Manual models reduce cost, while electric height-adjustable mounts provide easier daily operation and can support accessibility goals.
A mobile cart is practical when a touchscreen must serve several rooms or be repositioned for group work. The trade-off is floor space and cable management. Choose a commercial-grade trolley with lockable casters, a wide stable base, integrated cable routing, and a stated load rating that exceeds the weight of the display and accessories.
Whichever option you choose, confirm three specifications: the display’s VESA mounting pattern, its total installed weight, and the mount’s load capacity. Never select a bracket based on screen size alone.
Set the Right Touchscreen Height
An interactive display should be low enough for its intended users to write on comfortably, while still allowing clear visibility for seated students. There is no single universal height. Grade level, wheelchair access, display size, and the mount design all change the calculation.
As a practical starting point, place the center of the active screen area near the average eye level of seated learners, then check that the bottom section remains reachable. For a touchscreen used by younger students, the lower interactive area is often more important than placing the entire screen at a traditional presentation-display height.
Before drilling, make a full-size mock-up with painter’s tape or hold the display at the proposed position. Ask a teacher to stand at the board, write in the upper corners, and move around the teaching area. Check the view from the rear and side seats. This simple test can prevent an expensive remount later.
Plan Power, Network, and Cable Management
A professional classroom installation keeps operational cables protected and accessible. The goal is not to hide every cable permanently. It is to prevent accidental disconnection while allowing IT teams to replace, troubleshoot, or upgrade equipment without dismantling the wall.
Ideally, provide a recessed power outlet behind or near the display and run low-voltage cabling through approved pathways. Keep power and data cabling separated where required. If the touchscreen uses an onboard Android operating system, Ethernet is usually preferable for a consistent connection, content updates, remote management, and classroom platform access. Wi-Fi can work well, but it should be tested under real school network load.
Plan connections around the teacher’s actual tools. Most classrooms benefit from HDMI and USB-C input for laptops, USB touch-back where required, and USB access for document cameras or peripherals. If the display supports screen sharing, confirm that staff devices and the school network are compatible before deployment. A feature that works in a demonstration can fail in a managed environment because of firewall rules, device policies, or guest-network restrictions.
Avoid running loose cables across the teaching wall or floor. Use rated cable management channels, in-wall conduit where appropriate, or mount-integrated cable covers. Leave a service loop behind the screen so a technician can pull the display forward or remove it without damaging connectors.
Mount the Display Safely
Once the wall, height, and cabling plan are approved, installation can begin. This stage requires at least two trained people for larger displays. Commercial touchscreens are awkward to lift, and their glass-front construction makes them vulnerable to impact during handling.
First, locate and mark the structural fixing points. Use the mount template and a level to position the wall plate precisely. Secure the plate with the correct fasteners for the wall type. For timber framing, use structural-grade lag screws into studs. For concrete or masonry, use rated anchors appropriate to the substrate. Do not rely on drywall anchors for a heavy interactive display unless the mount system and wall design specifically permit it.
Attach the display rails or brackets to the rear of the touchscreen using the supplied or manufacturer-approved screws. Screw length matters. Fasteners that are too long can damage internal components, while screws that are too short may not provide enough engagement.
Connect power, network, video, USB, and control cables before lifting the display into place. Then lift the touchscreen onto the wall plate according to the mount manufacturer’s instructions. Engage all safety locks, tighten security screws, and confirm that the display cannot be lifted off or shifted sideways.
If electrical work, structural alterations, or in-wall cable routing is involved, use qualified trades in line with local requirements. This protects the installation, the building, and the people using the room every day.
Configure the Classroom Experience
Physical installation is only half the job. Once the display is powered on, update its firmware, set the correct date and time, connect it to the managed network, and apply the organization’s security and user settings. Disable unused sharing methods if they create an unnecessary access risk.
Calibrate touch input if the manufacturer requires it, then test writing accuracy across all screen areas. Test touch with a finger and stylus, if included. Check audio at normal teaching volume, test every planned input, and confirm that teachers can switch sources without calling IT.
If the touchscreen is paired with a room PC, document camera, conferencing camera, or wireless presentation system, test the complete workflow. A teacher should be able to start the system, present from a laptop, annotate content, play audio, and end the session without a complicated sequence of remotes and menus.
Complete a Handover, Not Just an Installation
A classroom display can be technically perfect and still underperform if staff do not know how to use it. Provide a short, practical handover focused on the tasks teachers perform most often. Show them how to power the display, connect a laptop, select inputs, use whiteboarding tools, share content, adjust volume, and report an issue.
Create a simple room guide with the exact cable connections, remote-control functions, support contact details, and restart steps. IT teams should also retain the display model, serial number, mount type, network details, warranty information, and photographs of the completed cable layout.
For multi-room rollouts, standardize the mount height, cable layout, input labeling, and user experience wherever possible. Consistency reduces training time and makes support faster across the campus. e365 SuperStore can assist buyers with commercial touchscreen selection, compatible accessories, installation planning, and deployment support for education environments.
A well-installed classroom touchscreen should disappear into the teaching day: easy to reach, easy to connect, safe to operate, and ready when the lesson begins. Plan the room carefully, validate the installation with real users, and give staff a setup they can trust from the first bell onward.